On this page
Design Tips
Want your hardware build to come together cleanly the first time? This page is a short checklist of habits that experienced makers reach for, grouped by where you are in the build: the whole project, the PCB, the 3D model, and the README. None of it is required, but every tip here saves you a reprint, a reorder, or a round of review feedback.
Work through the section that matches what you are doing right now. You do not need to read it top to bottom.
Original by @alexren at hwdocs.hackclub.com
General design
These four habits keep your project buildable, which is the thing reviewers and future-you both care about most.
- Design for manufacturing. Think about how your project will actually be built. If you can't assemble it, redesign it.
- Include tolerances. 3D printers aren't perfect. Add 0.2-0.5mm of clearance for parts that need to fit together.
- Model everything. Include all electronics in your CAD model, not just the case. This prevents "oh no, the battery doesn't fit" moments.
- Keep it simple. If your design has 50 parts and you've never built anything before, scope it down. You can always iterate.
PCB design
A few rules of thumb keep your board quiet (less electrical noise) and keep your first order from coming back broken.
- Keep traces short. Shorter traces mean less noise and better signal integrity.
- Use a ground plane. Pour copper on the bottom layer for ground. It reduces noise and makes routing easier.
- Decoupling capacitors go close to the IC. Not across the board. Right next to the power pins.
- Route power traces wider. They carry more current. 0.5mm minimum for signal traces, 0.8mm+ for power.
- Run DRC before ordering. The Design Rule Check catches errors that would ruin your board.
3D modeling
Small modeling choices decide whether your print is strong, comfortable, and easy to mount.
- Fillet your edges. Rounded corners look more professional and are more comfortable to hold:
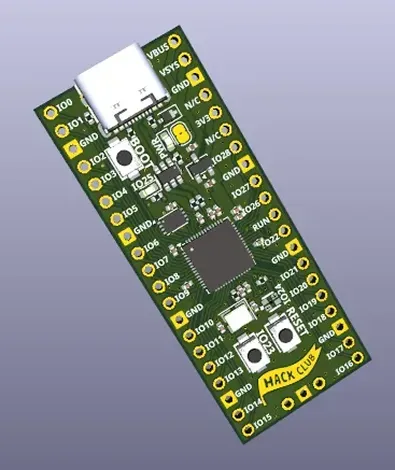
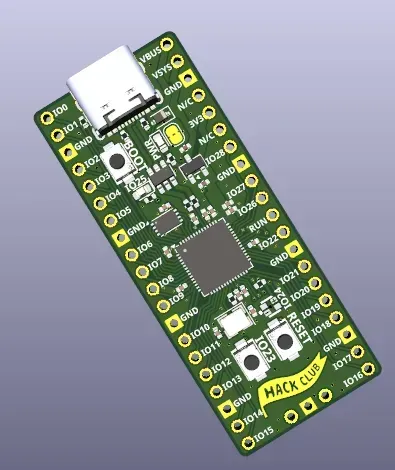
- Think about print orientation. The direction you print affects strength and surface finish.
- Add mounting holes. Even if you don't have a case yet, mounting holes make it easy to attach your board later.
- Test fit before final print. Print a small section first to check that tolerances are right.
README tips
Your README is the first thing a reviewer reads. A clear one makes your project easy to understand and easy to approve.
- Start with a one-line description of what the project does
- Include a photo or render of the finished product
- List all components with links to where you bought them
- Include assembly instructions, even if brief
- Add a "What I'd do differently" section. Reviewers love seeing self-awareness.
Helpful resources
Want to go deeper on any of the above? Start here:
- hwdocs.hackclub.dev has in-depth guides on debugging, ordering, schematic best practices, and more
- Adafruit Learn for electronics tutorials
- Hackaday for project inspiration
- Phil's Lab on YouTube for PCB design tutorials
- EEVblog for electronics engineering
Stuck on a specific design choice? Ask in #macondo-help on Slack and someone will look at it with you.
See also
- Build a Devboard , a full worked example from schematic to order
- Tools and Software , which CAD and PCB tools to use
- Shipping Your Design , what your submission needs to pass review
- Sourcing Parts , where to buy parts and how funding grants work